How to fit Ultra Blackout Blinds
Fitting your new Ultra Blackout blinds is quick, clean, and simple! We'll take you through the steps so you can have your new blind up in no time at all.
Jump to:
This guide relates to our free-hanging pleated blinds. For our fitting instructions for Pleated blinds please click here.

A screwdriver
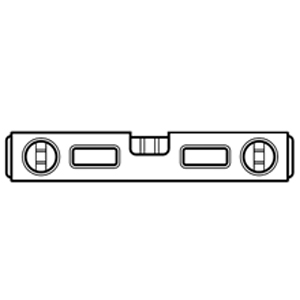
A spirit level
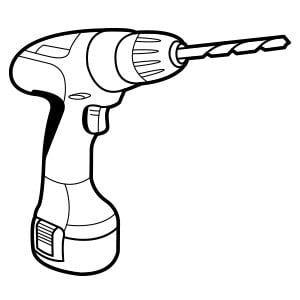
A drill

A pencil
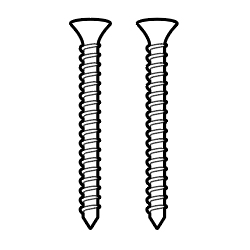
Screws*
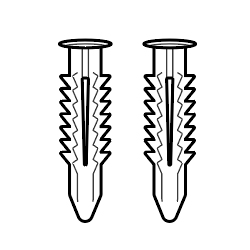
Rawl plugsS
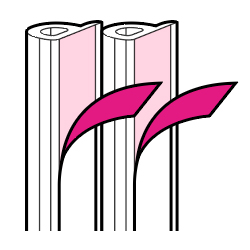
Foam strips
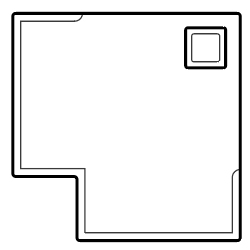
Corner cover caps (x4)
Carefully unwrap the blind components.
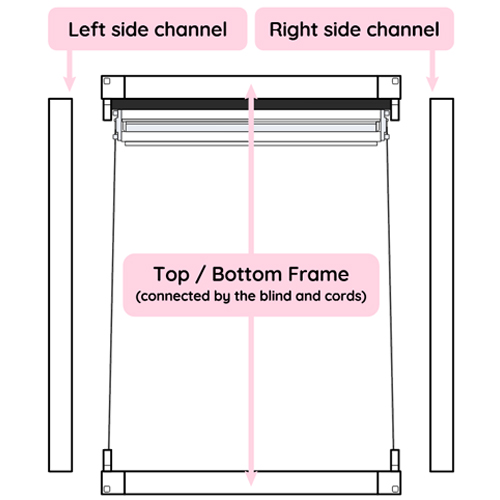
The blind will have the top and bottom parts of the frame connected by a cord on each side. Unravel the cords and extend the top and bottom rails.
Lay out the blind on a clean surface.
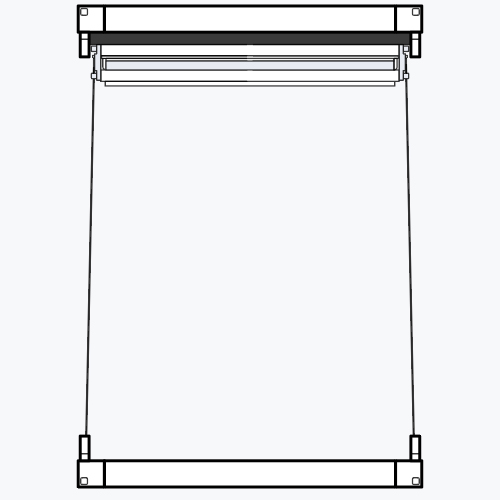
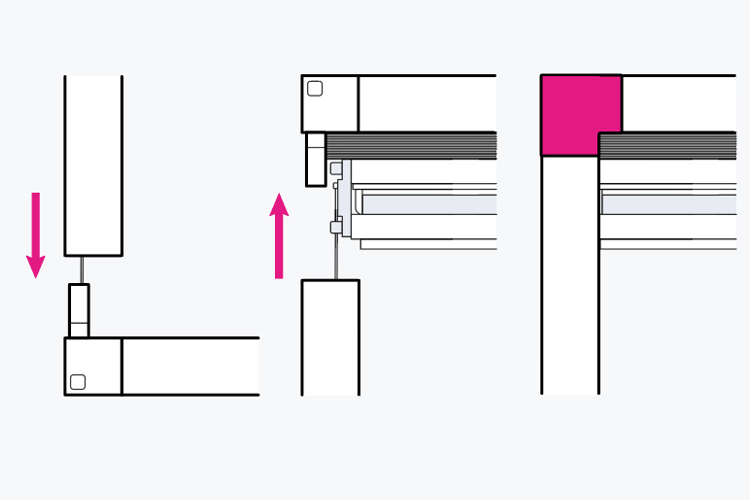
Build the frame — select the left frame component and guide on to the exposed arms of the bottom left corner joint.
Ensure the cords run down the inside of the channels and don't get trapped when slotting the frame pieces together.
Repeat the process on the top left corner joint.
Repeat the same process on the right side.
Push on corner cover caps.
Select installation position, ensuring to be clear of any obstructions when the blind is lowered and raised, and at least 50mm from the window to avoid thermal build up.
Insert the blind into the recess and ensure the blind is level using a spirit level.
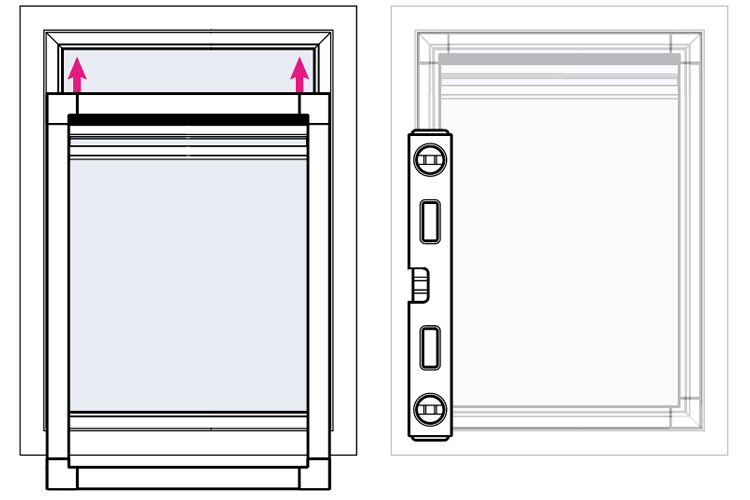
Hold the blind in position, use a pencil to mark drill holes for side channels onto the walls of the recess.
Take the frame down, drill holes where previously marked, and insert rawl plugs.
Put frame back up.
Move the guide cords out of the way and screw the frames securely into position.
The blind is now installed.
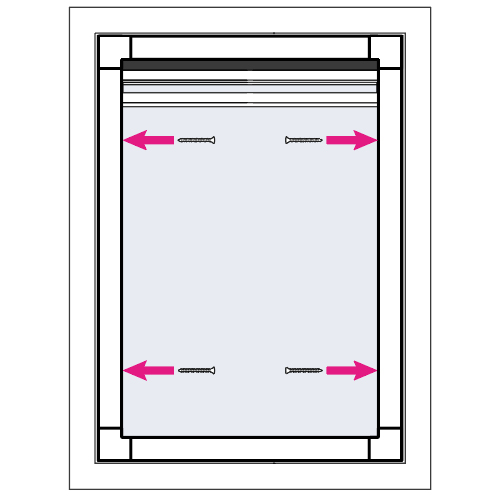
If the window is slightly out of square, you may need to install the foam strips along the back of the frame and along the recess wall to block any excess light creeping through.
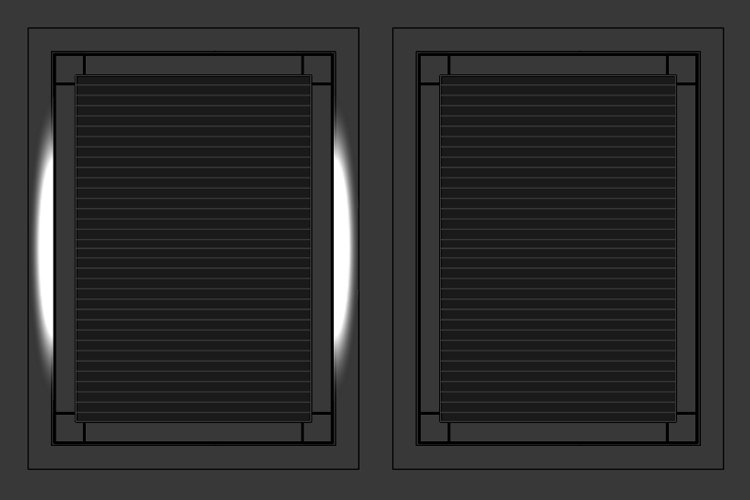
Child Safety
Whilst Ultra Blackout blinds are child safe by design, as with all window dressings they still pose a risk if used unsafely or installed in an unsafe location.
To ensure your blind is as safe as possible, please ensure all beds, cots, or furniture that can be climbed is moved away from the window.
While these blinds do pose minimal risk in regard to choking or strangulation, they can still be pulled off the window and cause a risk of crushing or injury.
If the blind is pulled from the window frame, ensure there is no damage, and install the blind back onto your window.


 Track My Order
 My Account
 Wishlist
 Call now


