How to fit Vertical Blinds | Blinds fitting guides | 247Blinds.co.uk
Vertical Blinds are a great option for homes and offices, as they offer up a sleek solution to light and privacy worries, whilst still allowing optimal air flow through the room.
Made to your measurements, we'll take you through this easy fitting guide, each step of the way. You'll have your vertical blinds up in no time at all!
Jump to:



Fitting Time — Approx. 30 minutes, first time
What do I need to fit?
You don’t need expert tools for the job, but we’d recommend the following:
Pencil to mark out your bracket placements
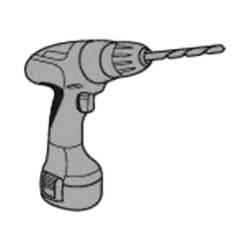
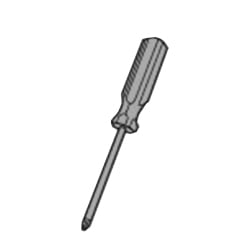
A screwdriver, or power drill to quicken things up.
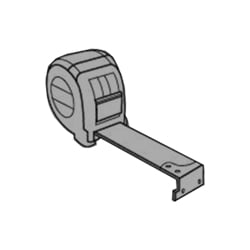
A measuring tape to help measure up bracket placements.
The correct screws and wall plugs for the surface you’ll be fitting your blind to. This could be plaster, wood or even steel, so we’d recommend looking online to ensure you get the best fittings for your blind.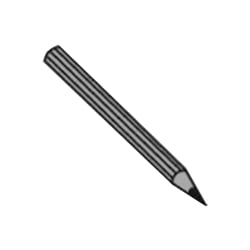




What comes with my blind?
Your new blind comes with a few basic pieces:
The headrail & box of vanes*.
Top fix & face fix brackets.
Weights and connector chain.
Child-safety clip for your wall.
Screws for the safety device (if chain controlled).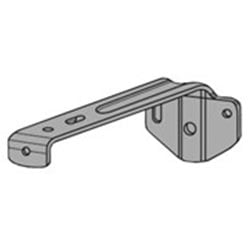

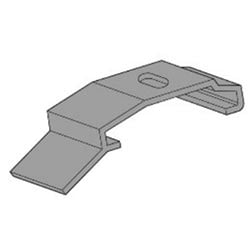

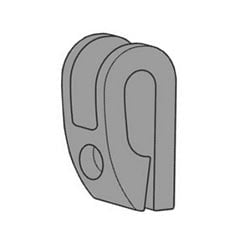

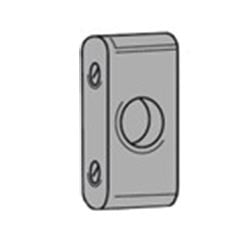

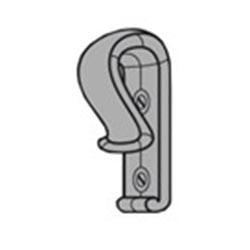

Safety Clips – These can vary in appearance
*Note that usually vertical blinds come in 2 boxes for one blind. One long piece for the headrail, and a smaller box for the fabric vanes. On some occasion these may arrive independently of each other, with different drivers, so don’t panic if you only receive the one box.
Fitting your blind
First decide on how you’re going to fit the blind. You can either top fix it (also known as a ceiling fix) or face fix. Fitting in a recess helps reduce the light bleed that comes around the edge of the blind and the material.
Fitting The Brackets: -
Please ensure your screws and/or wall plugs are suitable for the surface that you’re fitting to.
Blinds over 1 metre in width are usually provided with more than 2 brackets. These should be spaced around 50cm apart, with equal spacing across the length of the blind.
Fitting your blind — Top Fixing
Measure and mark the distance (D), allowing for obstructions like handles that protrude into the recessed area.
Tilt and hook headrail into bracket at point (E). Rotate the headrail into position until it clicks. To release the headrail, push the bracket at point (F). This method is the same for standard and deluxe Cruze headrails.
Top Fix Bracket Dimensions: -
Top fix brackets for 89mm are approx. 46mm by 37mm
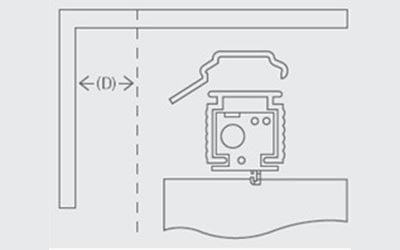

Standard Headrail — Top Fix Fitting Example A
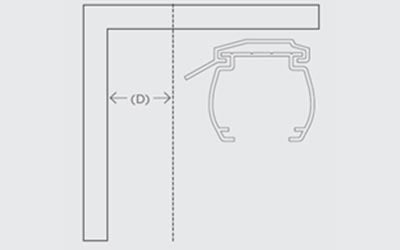

Deluxe Cruze Headrail — Top Fix Fitting Example A
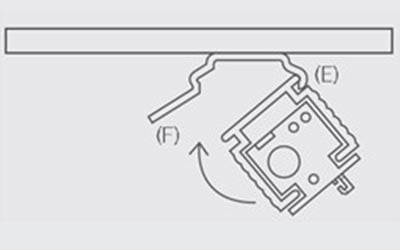

Standard Headrail — Top Fix Fitting Example B
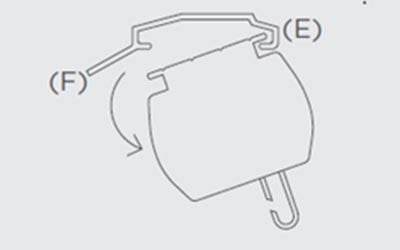

Deluxe Cruze Headrail — Top Fix Fitting Example B
Fitting your blind — Face Fixing
Position the brackets approx. 5CM inwards from the ends of the where the headrail will be positioned.
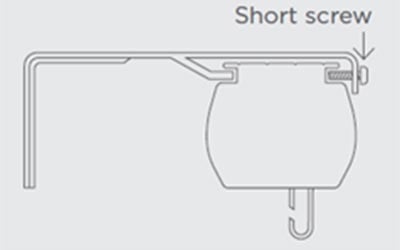
Hook the back of the headrail into the bracket, rotating the headrail into position. Secure the headrail in place by tightening the short screw at the front of the bracket.
Ensure you have enough clearance for the vanes to tilt open and shut, again ensuring that you have enough room for any obstructions like window handles.
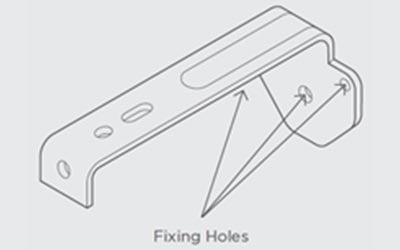

On 89mm Verticals & Brackets: -
For a 89mm vertical blinds, from the back of the bracket to the front of the vane when tilted open, this depth measurement is approx. 10.5-12cm.*
On 127mm Verticals & Brackets: -
For a 127mm vertical blinds, the depth of the blind when fitted is larger than the standard 89mm blind, and the clearance you need for vane rotation is greater.
From the back of the bracket to the front of the vane when tilted open, this depth measurement is approx. 13.5-15cm.*
* the depth of the blind can vary depending on the headrail you choose, this is due to different headrail depths and where the placement of the vane hook is within the trucks. For an accurate specification for these measurements, contact our customer service team with your chosen fabric and/or headrail.
Face Fix Bracket Dimensions: -
Face Fix Brackets for 89mm blinds are approx. 74mm by 34mm
Face Fix brackets for 127mm blinds are approx. 95mm by 34-51mm

Fit the Safety Clip
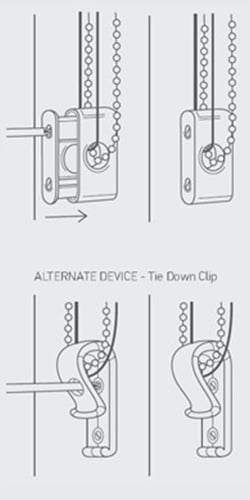
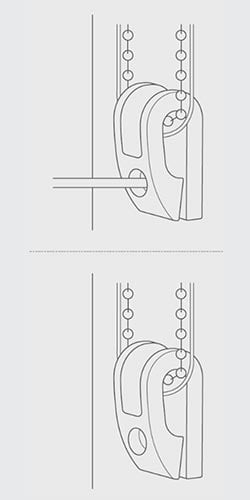
You must install the provided safety clip to ensure there are no loose chains that could cause a choking hazard. This is the case for both domestic and industrial settings, to ensure no vulnerable adults or children are at risk.
The included safety clip must be installed at the maximum distance possible from the control mechanism to prevent the looped chain from becoming slack.
Place the clip on the wall and mark the positioning of the two screw holes, drill in place and ensure the chain is fully taut to finish.
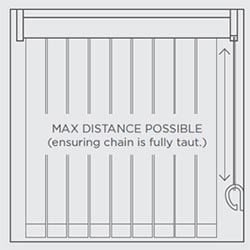

Place the clip on the wall and mark the positioning of the two screw holes, drill in place and ensure the chain is fully taut to finish.
If you have chosen a rod-control, instead of a control chain, you don’t need to install the p-clip.


Hang the Vanes
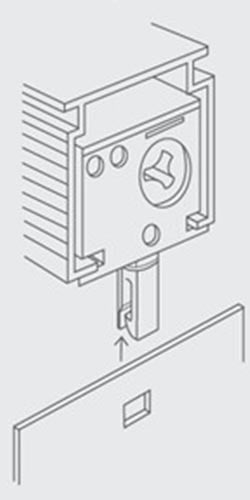
Next, unbox the vanes and hook them onto the pegs, ensuring that the pegs are in the open position.
To keep the vertical vanes safe, these are packed together and rolled into a tight spiral, with the weights and chains kept separately. This is to prevent creasing from the weights in travel and to provide some extra protection.
When unravelling the vanes, they might not be 100% straight, so to fix this, allow the vanes to hang after adding the weights for a few days. If you’re still experiencing issues, please get in touch, and we’ll do everything we can to help.

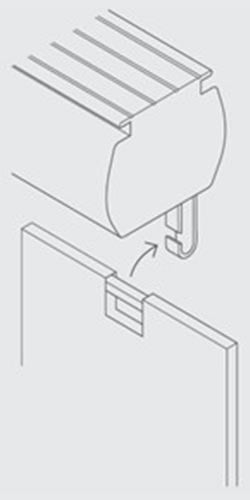

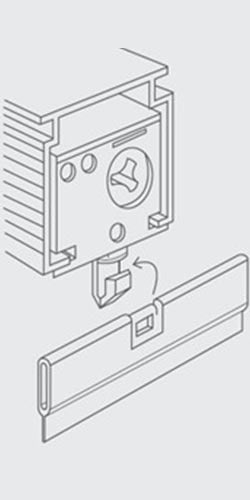

Fit the Weights & Chains
After fitting the headrail and the safety clip, insert the bottom weights into the vertical slat pocket.
The weight should have the mini-connector ear at the top.
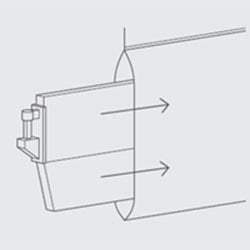

Push the connector chain onto the weight, ensuring to cover the back and front sides of the vanes.
The chain may arrive in one long piece, uncut. Simply cut where the vanes part, and (if split stack is chosen), or where the blind finishes (if left or right stack).
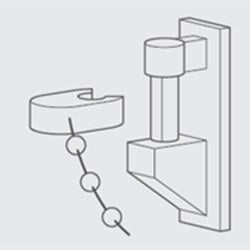

Rod Operation
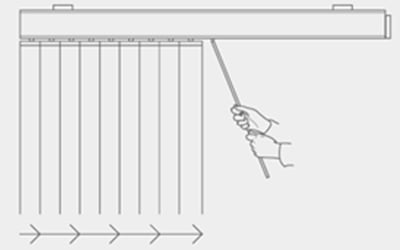
If you’ve chosen a rod-controlled vertical blind, you’ll use the wand found at the front of the vane bunch to draw the vanes across the window. This is dependent on how you pick your rod bunch side.
For example, if you choose a left-hand bunch, the rod is found at the front and pulls from right to the left, bringing the slats across the window, with the rod sitting on the left side, ready for you to tilt the vanes open or shut to suit.
If a split bunch is chosen, the two rods, still positioned at the front of the vane bunches, will meet in the middle when the vanes are pulled across.
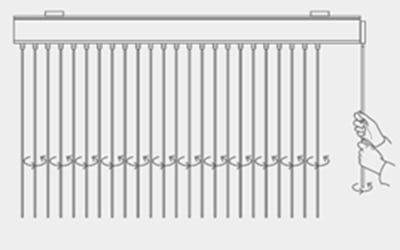
The same rod also tilts the vanes open, by simply twisting the rod.


Troubleshooting
It’s very unlikely that you’ll have to do any of these – and if you’re unsure, contact us straight away, and we’ll do everything we can to ensure your blinds are looking their very best. However, here are some quick and easy ways to resolve a few issues, just in case!
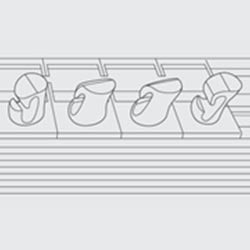
The pegs/trucks in headrail are not facing the same way
Sometimes the headrail can be jostled whilst in transit, causing the hooks/pegs to appear out of alignment. Though this is rare, there are easy steps to resolve this.

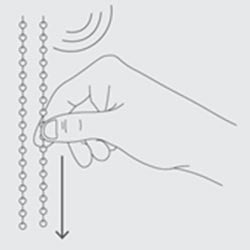
Chain Control — Alignment
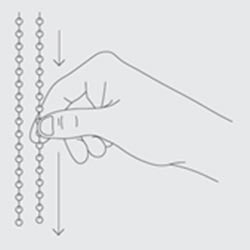
Pull the chain one way until you feel resistance. At this point, pull the chain with some extra force. You might hear a grinding noise; this is fine, so keep pulling with force, in the same direction.
The hook pegs/trucksin the headrail should start to align, so repeat the above step in the opposite direction and this should fully align them all.



Rod Control — Alignment
If any of the vanes are out of alignment, twist the rod until the vanes are in the closed position, then continue to twist until all the vanes are aligned.
You may feel some resistance and hear a grinding/clicking sound, this is normal and nothing to worry about.


The control chain won’t turn the vanes
Remove the vanes and try pulling the chain, if the pegs/travellers are rotating, return them to the open position and add the louvres back. The pegs should be turned perpendicular to the headrail.
Glossary of terms
Vanes/Slats/Louvres — These are the vertical fabric slats that make up the vertical blinds main body. These are mainly made from a polyester or PVC fabric, but modern variations do exist that have a rigid, curved PVC appearance.
Pegs/Teeth/Hooks — Vertical vanes use a part at the top to hook onto these. Pegs are attached to the headrail via moving travellers.
Travellers/Trucks — These moving pieces travel up and down the headrail via a hidden rod & have the pegs that the vanes hook onto peeking out from the under the headrail.
Bottom Pocket — This is where the solid weights sit, and a bobble chain is used to keep the weights chained together. This is to restrict movement, keeping the blind stable.
Child Safety
WARNING Young children can be strangled by loops in pull cords, chains, tapes and inner cords that operate the product.
Always use a safety device to keep cords or chains out of reach of children. To avoid strangulation and entanglement, keep cords out of the reach of young children. Cords may become wrapped around a child’s neck. Move beds, cots, and furniture away from window covering cords.
Do not tie cords together. Make sure cords do not twist and create a loop.
Install your safety decide at the maximum distance possible from the control mechanism and at least 1.5 metres from the floor.


 Track My Order
 My Account
 Wishlist
 Call now


